

Hey everyone!
Here's a little project for the beginner to EPP ( English Paper Piecing)
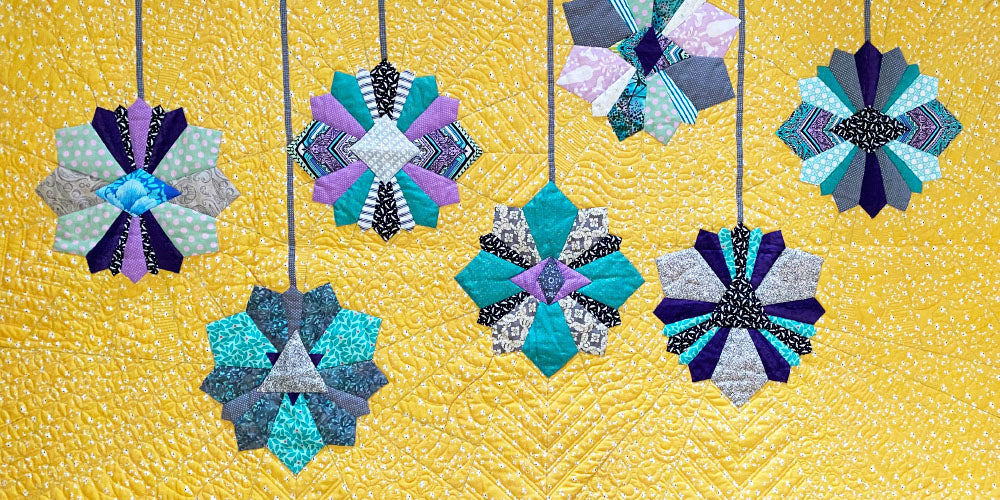
If you are one of those people who have said "NEVER" to hexis, but secretly want to make just one, then this is the sewing project for you!
This bright and cheerful block book is a great way to store your blocks without creasing them.
With ribbons set into the barberpole binding for tieing up your book into a roll, this project makes great use of your leftover jelly roll strips too.
Requirements list
2 1/2" WOF* strips x 8
2 1/2" WOF* strips x 3 (binding)
45cm of fabric for the lining
45 cm x WOF of pellon or wadding
Scraps for hexagons
Fabric glue pen eg Sewline
1 1/2" x 3 1/2" strips for barberpole binding ( you'll need 9 in total)
1.6m x 10mm grosgrain ribbon, cut in half ( 2 x 80cm lenths)
(7) 1" hexagon templates for the flower - have you tried our Eppiflex EPP templates yet?
Note : We measure the template along one side, not across the width
*Width of fabric
Making the hexagon
Choose 7 scraps that will accomodate the template with a seam allowance for folding around the shape. On each wrong side of fabric scrap dab a spot of glue and then place the template on the glue, centreing it, as in the pic below. Trim your seam allowance to 1/4 " or 3/8" if you like a little extra. 
.jpg)
An extra step ... nice but not essential..
Here is where I like to get the spray starch and iron out - with our Eppiflex templates this works a treat as they are made to withstand high temperatures.Set your iron to medium to high heat for best results.
Lay your prepared hexi on the ironing board and give it a little spray of starch and leave for a minute to let the fabric absorb the starch. The starch wont hurt the template, they wash up great.
Now fold each edge over in turn pressing as you go. I find this just gives the edges an even sharper line. I will admit that this step is only convenient if you are preping at home and not travelling around the countryside!


With needle and one strand of thread ( any colour as its just a basting thread) take a backstitch at each corner, securing the template in place. Repeat with all 7 hexis.
Now its time to make a granny flower.
Start by sewing together two of your prepared hexis, along one side, taking small stitches to connect the two pieces just at the edge.
Make sure to use a matching or blending colour thread here - I like Invisifil because its fine and lightly tinted, but still quite strong. Plus I can machine quilt with it too!
Once your flower is made, give it an iron with the templates in, then remove the templates. Your flower is ready to be appliqued in place.
Barberpole book binding


Continue to join the 9 strips with a mitred edge until your barberpole binding is made, press the seams to one side.
Set aside for later.
Constructing your book
Take your 8 jellyroll ( 2 1/2") strips and sew them together in pairs, along their long edge, using a 1/4 inch seam. Press the four sets, then sew two together to make a four set, and continue is this way until the 8 strips are joined.
Now why didnt we just sew all 8 to each other? In short, becasue if you do that will will start to twist. The book will sit flatter if you sew in pairs like I have described.
Give it a press, and either pin or spray baste it to some wadding ready to quilt.
Now I love to free motion quilt and these days I dont get much time for it so I went to town on my piece with some scroll flowers. However, some simple straight line, feed dogs up quilting will be just fine, if FMQ is not your thing. 

Once you have finished quilting, trim the one quilted piece into two x squares. First measure across the strips - it should be around 16.5" but it will depend on your 1/4 inch seam and how much the quilting has altered the size. Whatever it measures, cut it into this size ( two squares) These form the front and back cover.
One one piece, applique your Hexi flower, using a blending colour thread and blind applique stitch.
