 Eppiflex EPP Templates


Cart
Your cart is currently empty.
How to use Eppiflex Templates
One of the things I love about patchwork is that there are many ways to do a job, and not always a right or wrong. Im a strong believer in doing what feels right for you, I think this attitude has led to so many innovations over the years.
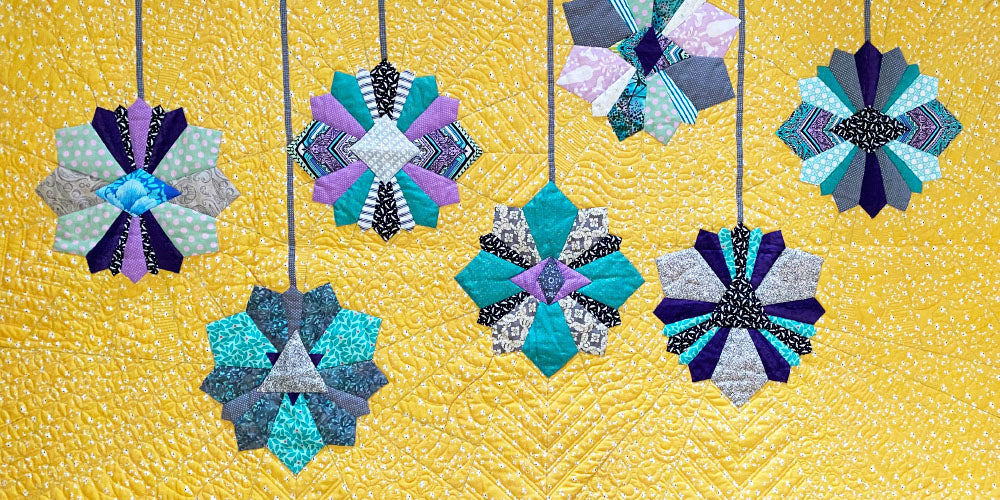
For that reason I've included some the many ways of preparing patches with Eppiflex templates.
.jpg)
For that reason I've included some the many ways of preparing patches with Eppiflex templates.
A word of warning - not all the methods described here will work for "paper" templates
Step 1. Cutting the fabric to fit the template
Option 1. Use an acrylic template that is larger than your templates by the seam allowance. Place the acrylic template on your fabric and cut around it with a small rotary cutter or mark it with a fabric marker and cut out with scissors. You now have a fabric shape which is larger than your template all the way around.
Option 2. Put a small dab of fabric glue on the Eppiflex template and press it to the reverse side of the fabric. Wait a minute or so until it has dried. Now cut around the shape, leaving a seam allowance of fabric extending past the template. Seam allowance is up to you - some people prefer a slightly larger than 1/4 inch to work with. Again this can be cut with a rotary cutter and a ruler
( I like my seam guide ruler for this job) or you can eyeball the seam and cut with scissors. Alternatively you can mark the seam with a fabric marker and cut out with scissors if you wish.
Step 2. Connecting fabric and template - regardless of method you are aiming for sharp corners and smooth edges.
Option 1. Glueing the edges... Take a fabric glue pen and dab it around the edge of the seam allowance, pressing the seam on to the template as you go. Just put around three dots of glue along the first side of the template and then fold the fabric over the template. Continue around the fabric piece until all edges are turned. Glue will release better later with a warm iron if you find it doesnt just peel back.
Option 2. Basting the edges... With a single strand of thread and a needle, place a back stitch in the corner of two folded edges. Here it is handy to have a paperclip or quilt binding clip to hold the first edge down. I have also seen tutorials where a pin is placed via the centre hole to help hold the fabric in place.
Continue to baste all around, tacking at the connecting corners.
Option 3. Starching the edges... This method works as a stand alone preparation depending on how you are sewing the prepared patches together later. It also works great as a prep to basting ( option 2)
Lay your cut fabric wrong side up on the ironing board and give it a little spray of starch and leave for a minute to let the fabric absorb the starch. If you iron it straight away all you'll do is iron the starch off the fabric. Place the eppiflex template on the fabric and press over one edge, continuing all the way around until all edges are held.
Want more? Check out the blog on "Starch Now, Sew later"
So give these methods a go, you are sure to find what works for you.