

It seems the thought of attempting the mini EPP project is high on the list of "things I'll do when I've lost my mind".
I'm here to tell you its not all that bad.
Once you've opened the packaging and had a little freak out about the size of the pieces, make a coffee ( probably NOT a wine) and gather your supplies.
You'll need some fabrics and a glue pen. Yes I'm sure you COULD thread baste these babies, but if this is your first time dealing with itty bitty bits, be kind to yourself and go the glue.
On this blog post re-do , I'm going to be making myself a Liberty brooch with 3/8" hexagons. I do have one made from 1/4" hexagons, but ( and you're going to love this bit) I've lost it. It's small and easily misplaced.
Here you can see the difference between a 1/4" hexi and 3/8" hexi. And also understand just how easy it was for me to lost that brooch.

So your first job is to open the pack of templates and find a good storage solution.. you know how glitter is descibed as the herpes of the craft world... well small shapes will disappear as fast as you can unpack them, so you'll need the right storage for your templates.
In this case a small plastic container will suffice. I would usually recommend a ziplock bag for EPP pieces, but it can be a struggle to get really small shapes in and out of them.

Grab your fabric, give it a quick press to remove the creases and lay it down on a hard surface with the wrong side facing up. Put a dab of glue on the fabric and then stick a template to the glue dot. Give them a couple of minutes to dry. Have a sip of wine ( aka coffee )

Cut them out leaving a seam allowance around all sides. A good pair of small sharp scissors is needed here. My favs are the beautiful snippets by Sewline.
Now unlike larger pieces there is no set size for the seam. It is relative to the size of the template you are working with.

Swipe a line of glue along one of the seam allowances and then finger press it to the plastic edge quite firmly, making sure you get a good sharp line. The tendency is to make the fabric very taut over the template, but you'll need some fabric at the edge to pick up with your needle. Firm rather than taut is best. Another factor in this is the thickness of the fabric you are using. My Liberty Tana lawns are quite thin so I have to be extra careful not to pull them too tightly over the template.
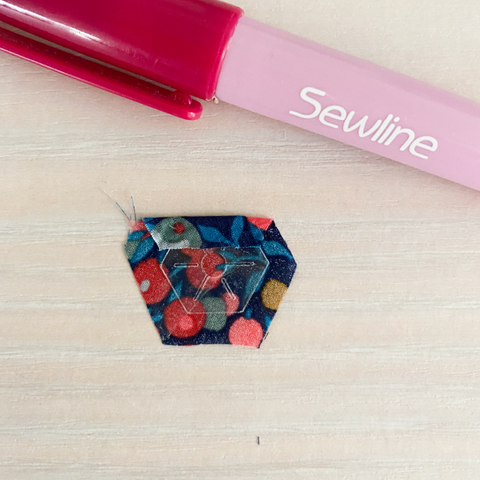
Repeat the process with the other sides

It may be that your seams, once glued to the back of the template, take up almost all the available spce and that your template disappears under the seams. That's ok.
By now you'll be having one of those " I think I can actually do this" moments. YES YOU CAN!
Keep using the glue pen to cover the rest of your shapes.

"But what about the sewing?" I hear your cry..
Well honestly I don't do anything spectacularly different to normal EPP sewing.
But there are a few things that will help ( not just the wine )
1. I like to use a magnifying lamp - invest in one, they are worth every cent and will come in handy for reading that ridiculously small writing they put on food labels these days.

2. Make sure you're using a fine thread and fine needles. I like Wonderfil Invisifil and Bohin Milliners size 10 or 11.
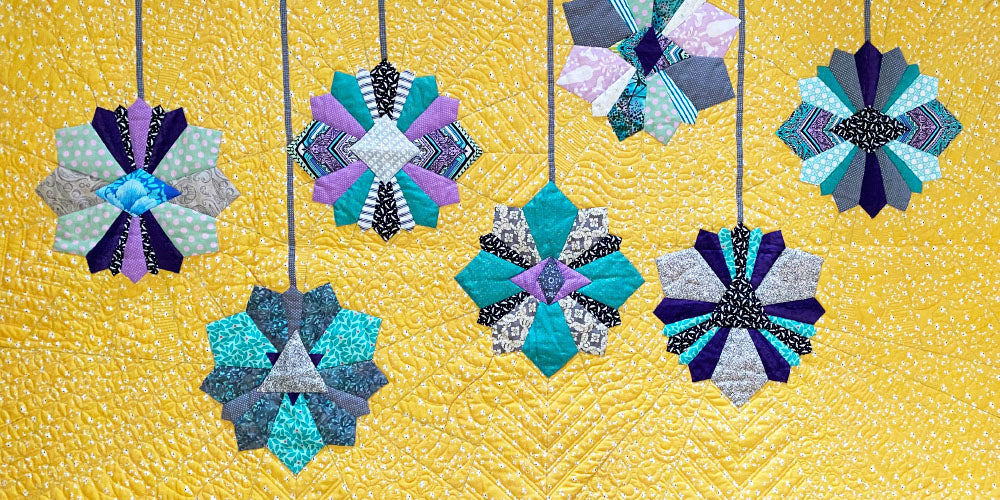
The enormous amount of satisfaction that comes from completing one of these little gems far outweighs the few fiddly sewing moments involved in its construction.
And you can always look on the bright side - the seams are so much smaller that they take less time to sew!!!
I hope this helps and that you have fun sewing your mini. xx
